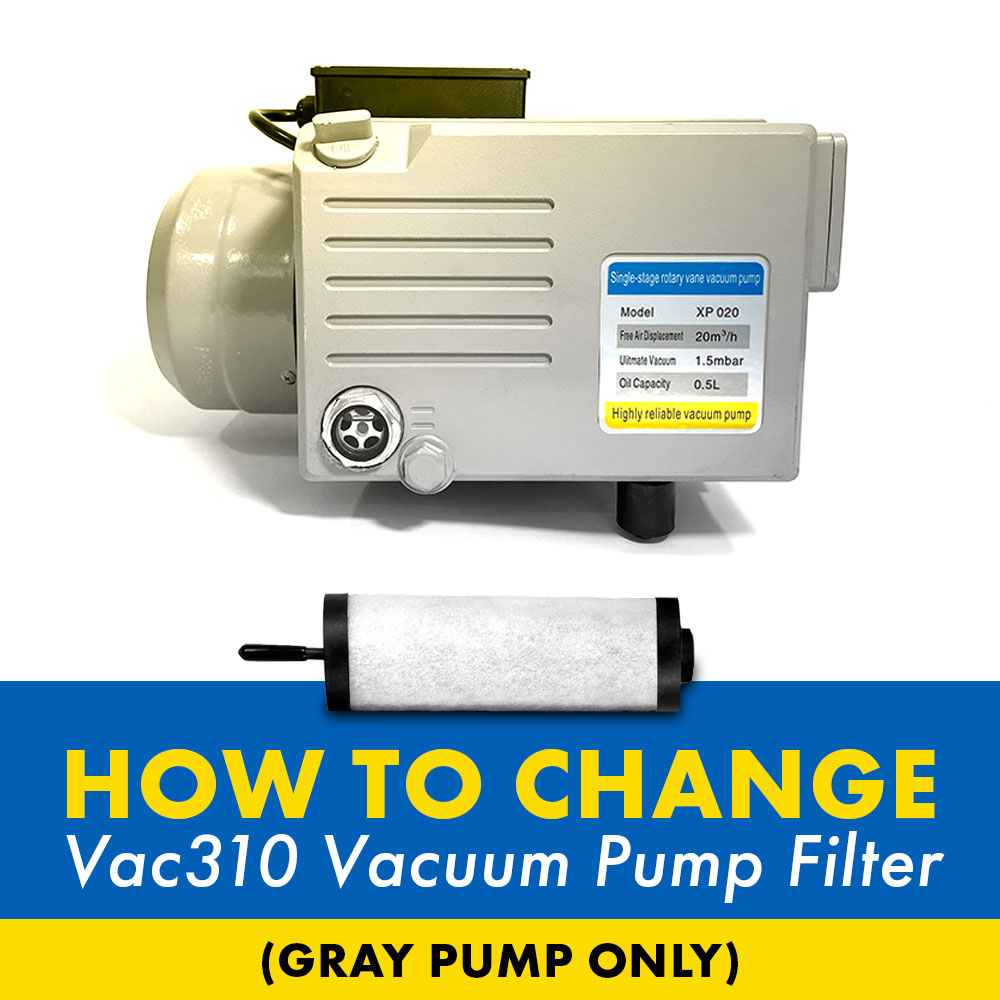
How to Change Pump Exhaust Filter (310-32, Gray Pump) | JVR Vac310
“Today, we will take you through a step-by-step process of replacing the exhaust filter as the vacuum pump has been constructed to make self-service possible.”
A very common question for us to receive is: “How do I replace the vacuum pump exhaust filter in my Vac310?”
Today, we will answer that question simply.
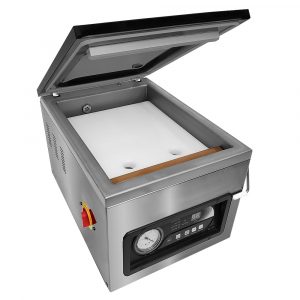
Have you noticed that your Vac310 chamber vacuum sealer is performing with diminishing quality, producing smoke or even an oil mist? These are a select few examples pointing to the possibility that your pump exhaust filter may need replacing. Today, we will take you through a step-by-step process of replacing the exhaust filter as the vacuum pump has been constructed to make self-service possible. As a result, you can avoid the extra cost of paying for a technician to fix something which can easily be done on your own!
Index
1) Benefits of Oil-Lubricated Vacuum Pumps
2) Difference Between Filters for the Vac310 Models
3) How Often Should the Filter be Replaced?
4) How to Replace the Exhaust Filter
8) Removing the Old Exhaust Filter
9) Replacing with the New Exhaust Filter

Benefits of Oil-Lubricated Vacuum Pumps
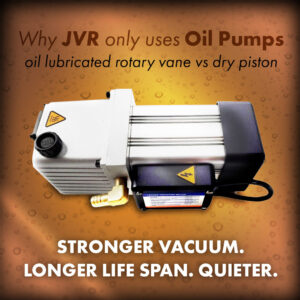
All VacSeries sold by JVR Industries are designed to be constructed with an oil-lubricated filtering system installed. This device ensures materials such as dust and other impurities do not pass through and reach the vacuum pump components. The application of an oil filtration system ensures our vacuum pumps achieve high quality and durability.
These vacuum pumps not only offer an effective system but are also a source of sustainability. Similar to the full recovery water fluid system of gas-powered liquid ring vacuum pumps, the oil in our vacuum pumps is fully recycled to prolong the need for a refill. Some systems function in a way where the liquids leak out slowly over time so much more is being used. Our vacuum pumps avoid this by creating an oil mist which is caught before the air is expelled from the unit. The droplets conjoin and are recycled back into the system. Therefore, these applications result in a system that offers a longer range of time between liquid refills.
Difference Between Filters for the Vac310 Models
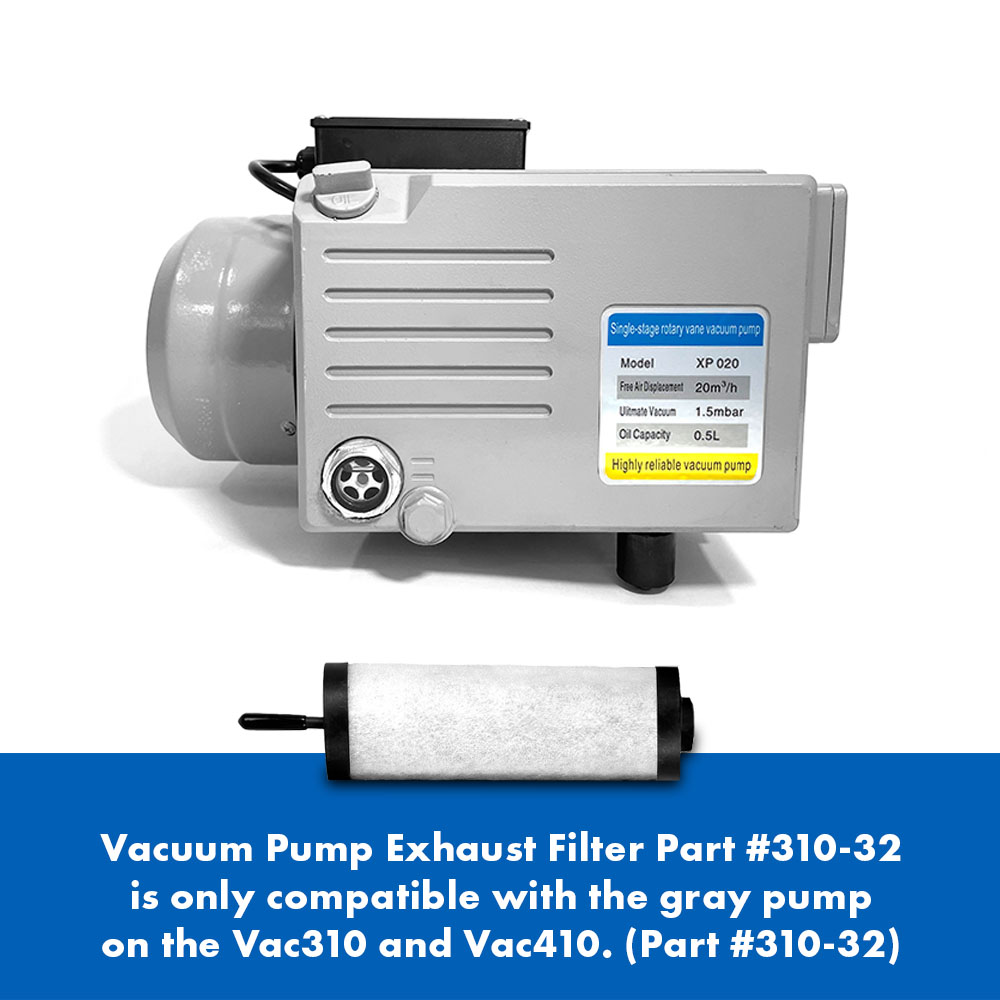
If you own the older model of the Vac310, confirm the filter ordered is the GRAY pump with the part number 310-32. We also carry filters for our older Vac310 vacuum pump that appear the same but are labeled as a WHITE filter with the part number 310-33.
How Often Should the Filter be Replaced?
We recommend you change the exhaust filter about once a year to maintain peak momentum for filtering quality. The range of time between replacements may vary depending on the amount of use.
A strong suggestion would be to order 1-2 new filters along with the initial purchase of your Vac310/Vac410 to allow for ease of momentum throughout your replacement process.
How to Replace the Exhaust Filter
Replacing the exhaust filter is rated moderate difficulty and is expected to take around 30 minutes.
Tools Needed
#2 Phillips
10mm & 13mm combination wrenches
Prepping the Unit
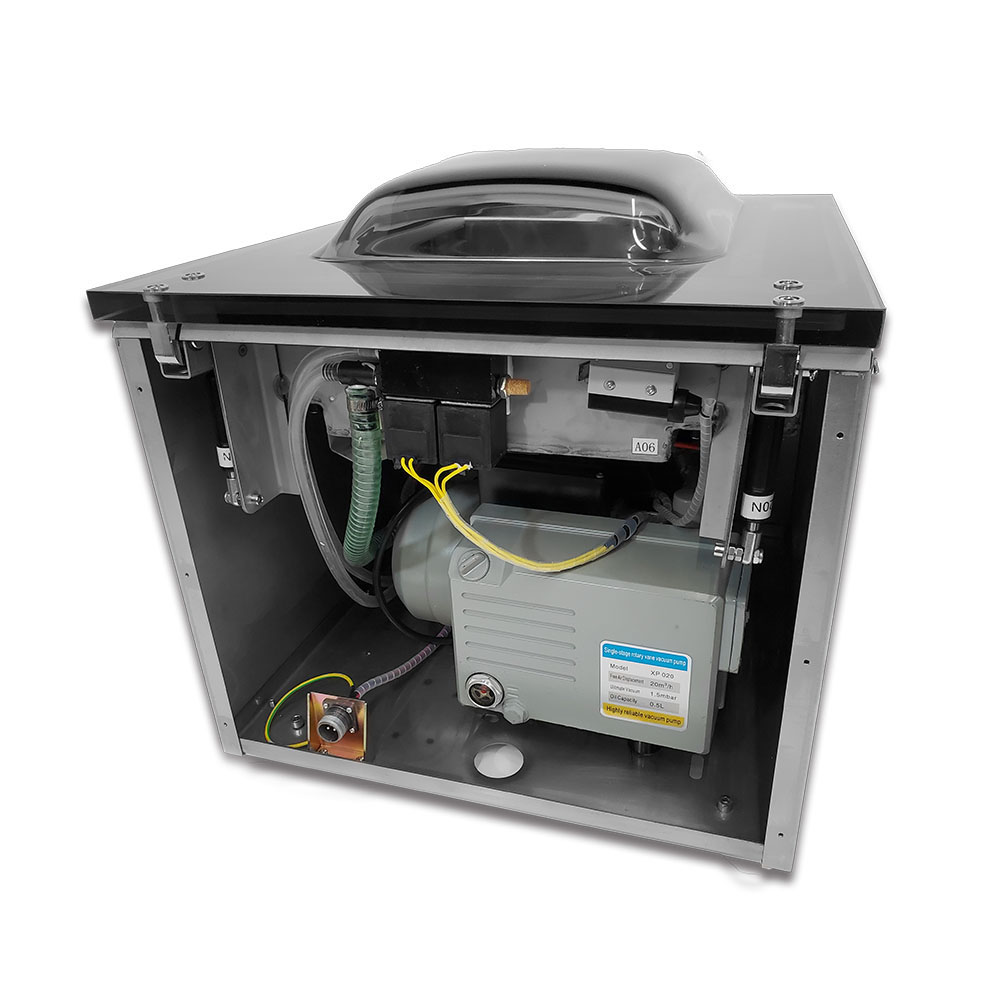
1) Step #1 – Unscrew all 6 screws from the panel on the back of the unit using the #2 Phillips (make sure to keep washers with the screws).
- Hold the panel when you get to the last screw to keep it from falling by pressing toward the unit
2) Step #2 – Remove panel
3) Step #3 – Add 2 in x 4 in boards under each back foot to tilt the unit. This creates space to access the vacuum pump feet below the frame of the unit.
CAUTION: Be wary of tilting the unit too much. The weight of these vacuum pumps is not light due to the size and stainless steel material. Tilting a unit of this mass could be extremely dangerous if it were to fall! To avoid this, we suggest no more than two 2 in x 4 in boards to prop the unit to limit the chances created of the unit falling.
Removing the Pump
1) Step #1 – Use the 13mm combination wrench to loosen the nut securing the foot of the pump under the unit then unscrew it by hand.
2) Step #2 – Lift and rotate the pump to detach from the bottom.
Removing the Old Exhaust Filter
1) Step #1 – Separate the cap found on the vacuum pump by removing the four screws with #2 Phillips.
2) Step #2 – Withdraw the filter from inside the pump.
3) Step #3 – Use the 10mm wrench to remove the cap from the filter.
4) Step #4 – Make sure to remove all contents used to secure the cap including the washer.
Replacing with the New Exhaust Filter
1) Step #1 – Unpackage new filter.
2) Step #2 – Remove the rubber piece found on the thread.
3) Step #3 – Add all contents on the new filter in the same order you found it on the old filter:
Washer
Spring
Washer
Cap
4) Step #4 – Press all contents down simultaneously so everything is even.
5) Step #5 – Screw the nut on to secure the cap and tighten it with a 10mm wrench.
6) Step #6 – Confirm O-Ring is placed on the new filter (ships like this).
7) Step #7 – Insert the filter back into the pump.
8) Step #8 – Reinsert 4 screws with the Phillips.
Reassemble the Pump and Unit
1) Step #1 – Slide the feet of the pump back into holes on the bottom of the unit and secure it.
2) Step #2 – Ensure bolts are secure with the 13mm combination wrench.
3) Step #3 – Reinstall the back panel and use the Phillips to secure the screws.
Where to Order a New Exhaust Filter
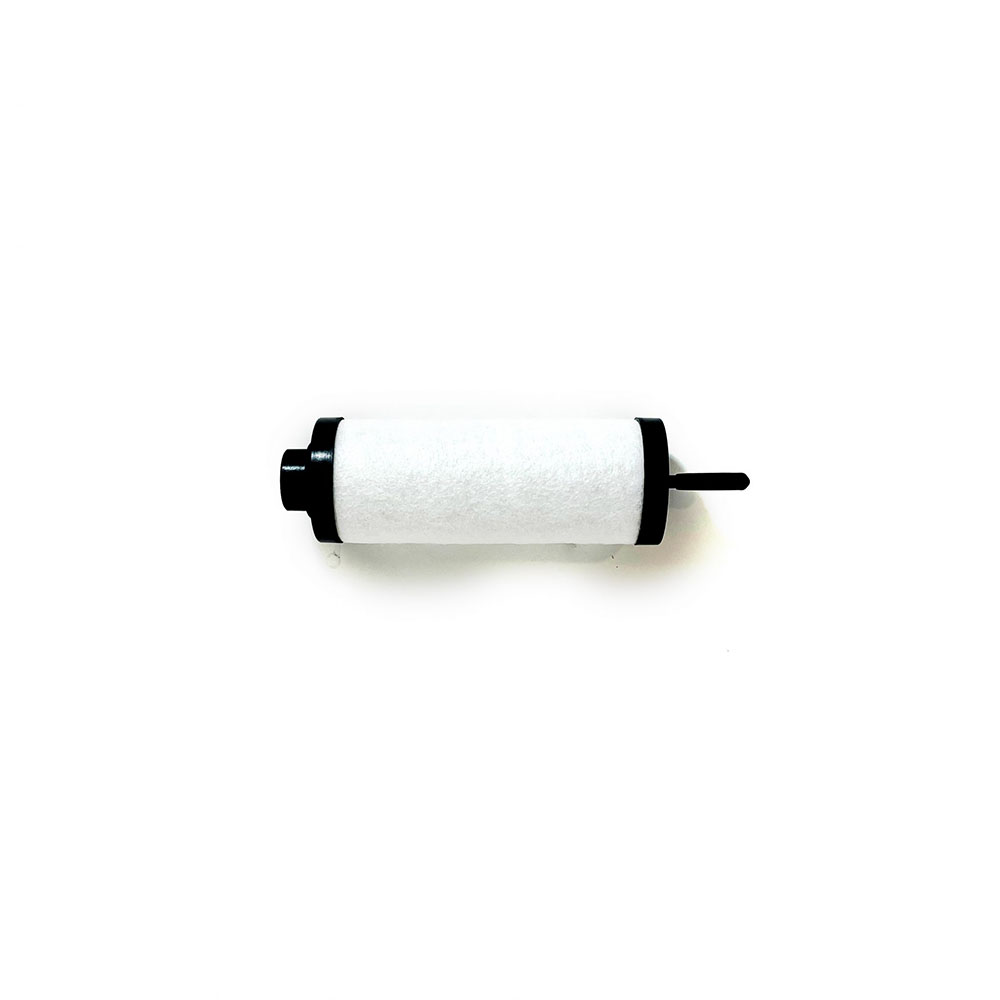
If you are looking for a new exhaust filter for your vacuum sealer, click here to access the direct link to order. Additionally, we offer same-day shipping so you do not have to miss a day of work!
Order a QUART or GALLON of our VacOil along with your new filter purchase!
Questions? Contact our service department which provides detailed, educated, and personable assistance. Or, watch the video found below that provides further details and a visual for the instructions provided above.


