How to Replace the Seal Heat Strip (100-17) | Vac100
“we have purposefully constructed our VacSeries chamber vacuum sealers to be self-serviceable … replace that heat strip on your own!”
When it comes to vacuum packaging foods, the sealing quality is essential in producing the desired results – safe storage and a long shelf life. Without superior seal quality, vacuum sealing is close to pointless as air could seep back into the bag. Additionally, if you seal liquids with your vac sealer machine, the liquid could seep out wasting food and causing a mess.
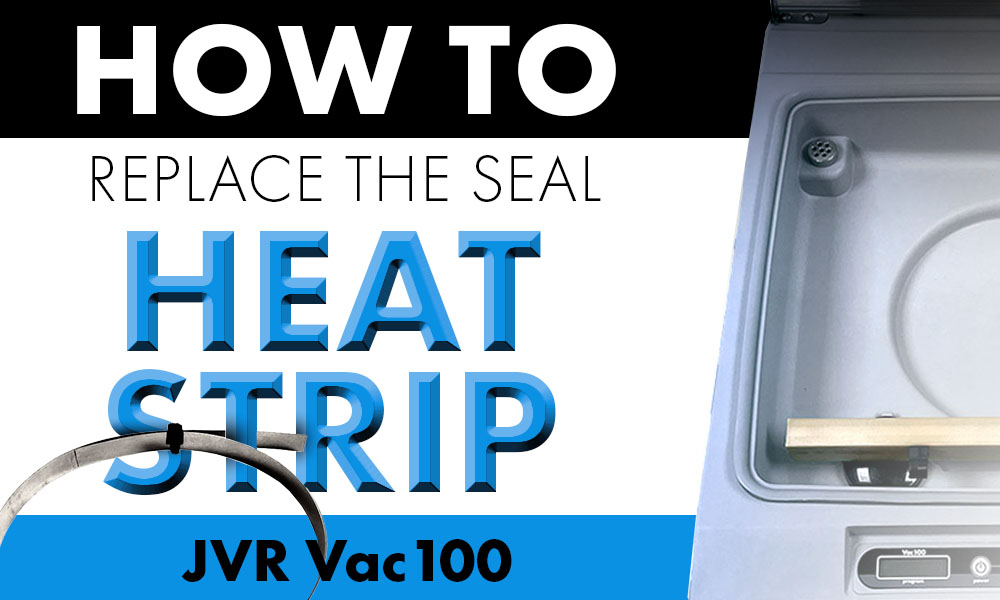
At some point, seal failure might occur in the middle of vacuum packaging. This is why we have purposefully constructed our VacSeries chamber vacuum sealers to be self-serviceable so your packaging experience can run as smoothly as possible! Read below to find out what to do if your Vac100 ceases sealing and how you can replace that heat strip on your own!
Index
1) Signs the Seal Heat Strip Needs Replaced
Signs the Seal Heat Strip Needs Replaced
Consider replacing the seal heat strip if either of these scenarios occur:
1. Failure to seal the vacuum seal bag or chamber vacuum pouch during the process of sealing food letting air back in.
2. A cracked wire will also cause sealing failure. The crack will generally be located at the end of the seal bar or where the set screws secure the heat strip at the base of the seal bar.

Tools Needed
Mini Pick / Flathead Screwdriver
#2 Phillips
17 mm Wrench
Needle Nose Pliers
Tin Snips / Diagonal Cutters
Your handy dandy seal heat strip! (Every JVR Vac100 will come with a replacement seal heat strip upon purchase)
Safety Gloves (We advise using these to prevent cuts)
Time Required
You should expect to set aside about 10 minutes the first time you go through the replacement process. Remember, it will get easier every time! With practice, you should be able to cut down the time to about 3-5 minutes!
Difficulty Level
MODERATE: The replacement procedure is fast, yet also involves quite a few tools. Additionally, the actual heat strip could take a few tries to remove and replace.
CAUTION
*Make sure to review content before getting started to ensure you know what to expect and how to keep yourself safe!
SHARP! The seal heat strip is sharp around the edges. Therefore, we recommend wearing gloves throughout the replacement to avoid getting cut.
HOT! Ensure the seal bar assembly is cooled down if you were using it right before replacement.
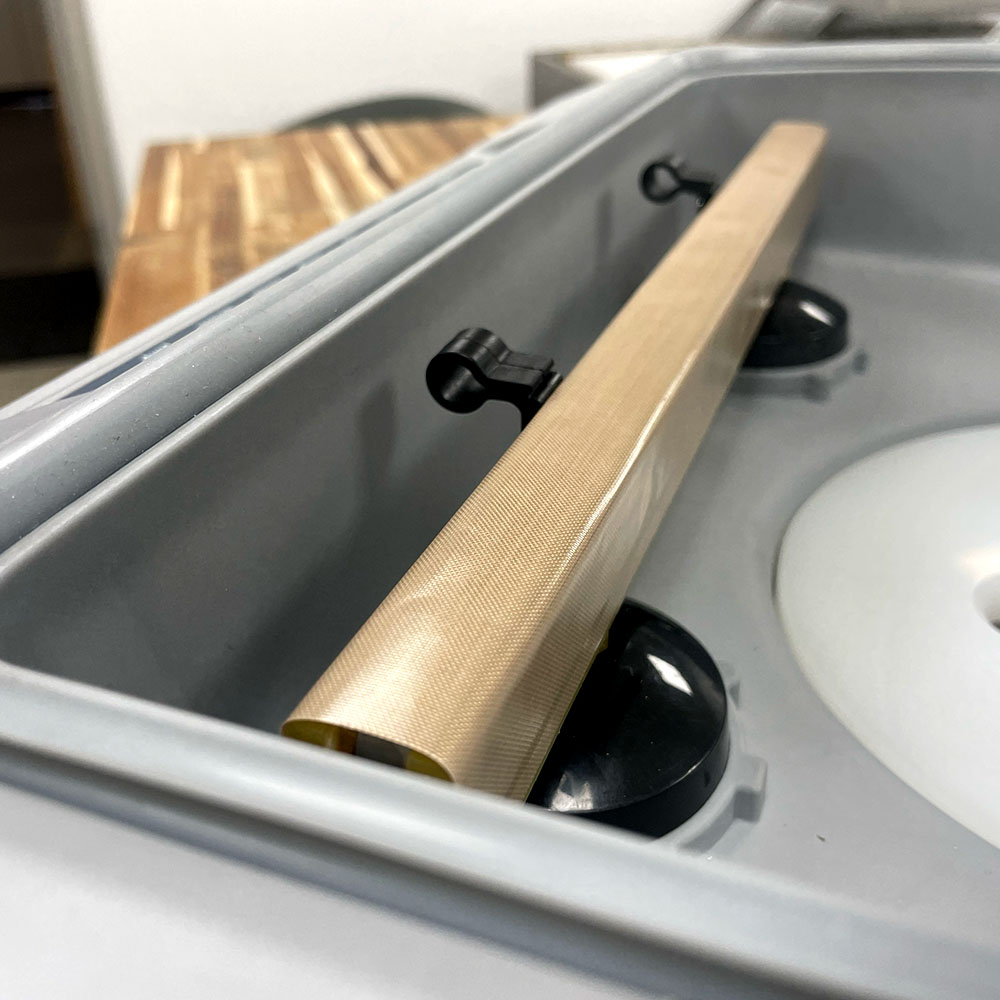
Steps to Replace the Heat Strip on the Seal Bar
Prep Steps
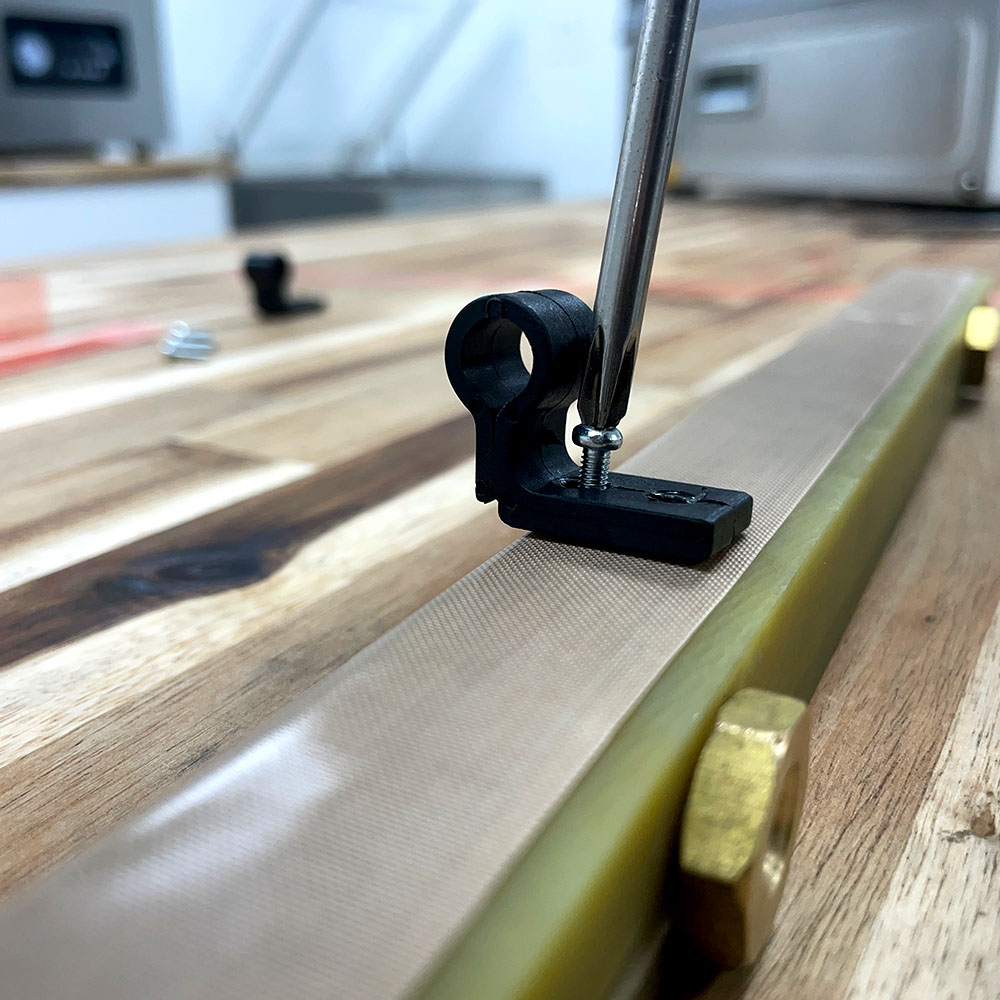
1. Remove the bag clips using the #2 Phillips screwdriver.
2. Remove the seal bar tape simply by tearing it off.
NOTE: Keep this seal bar tape for a reference to where the bag clip screws are placed for the new seal bar tape.
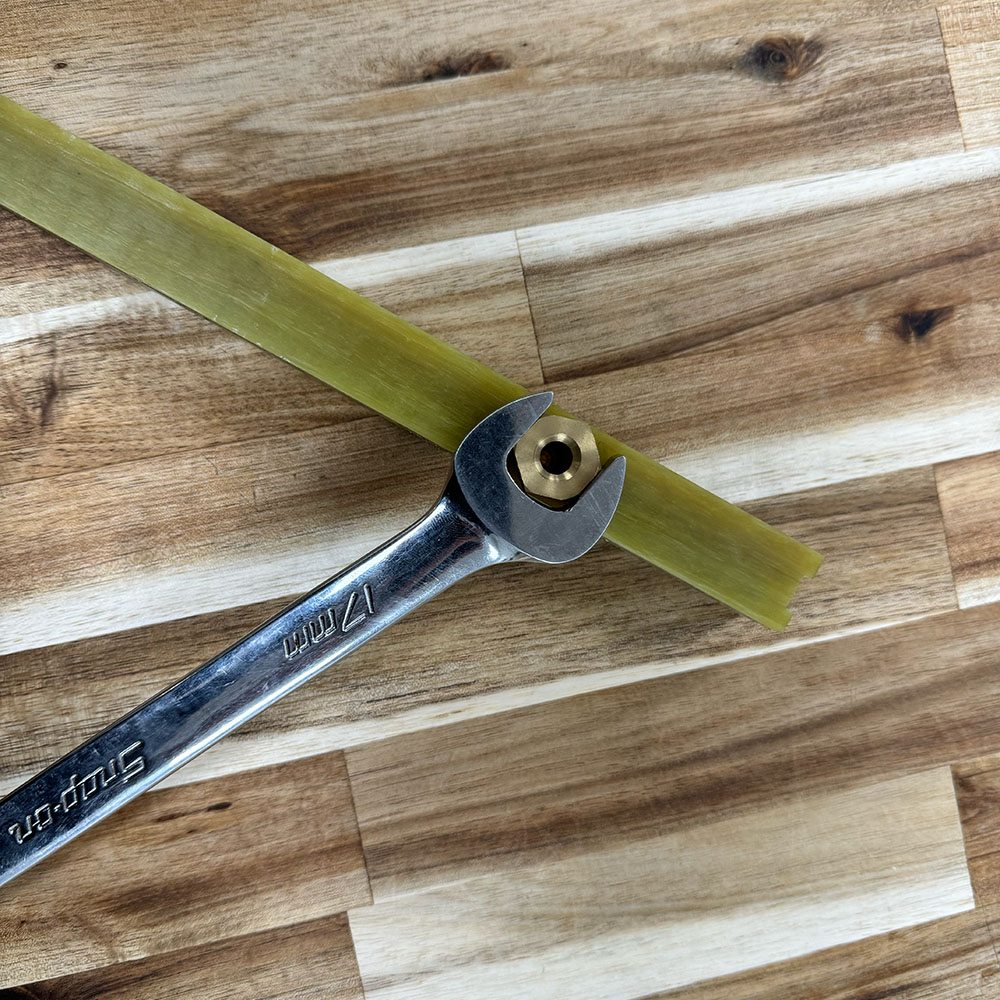
3. Use the 17mm wrench to remove the two set screws from the base of the seal bar.
Remove the Seal Heat Strip
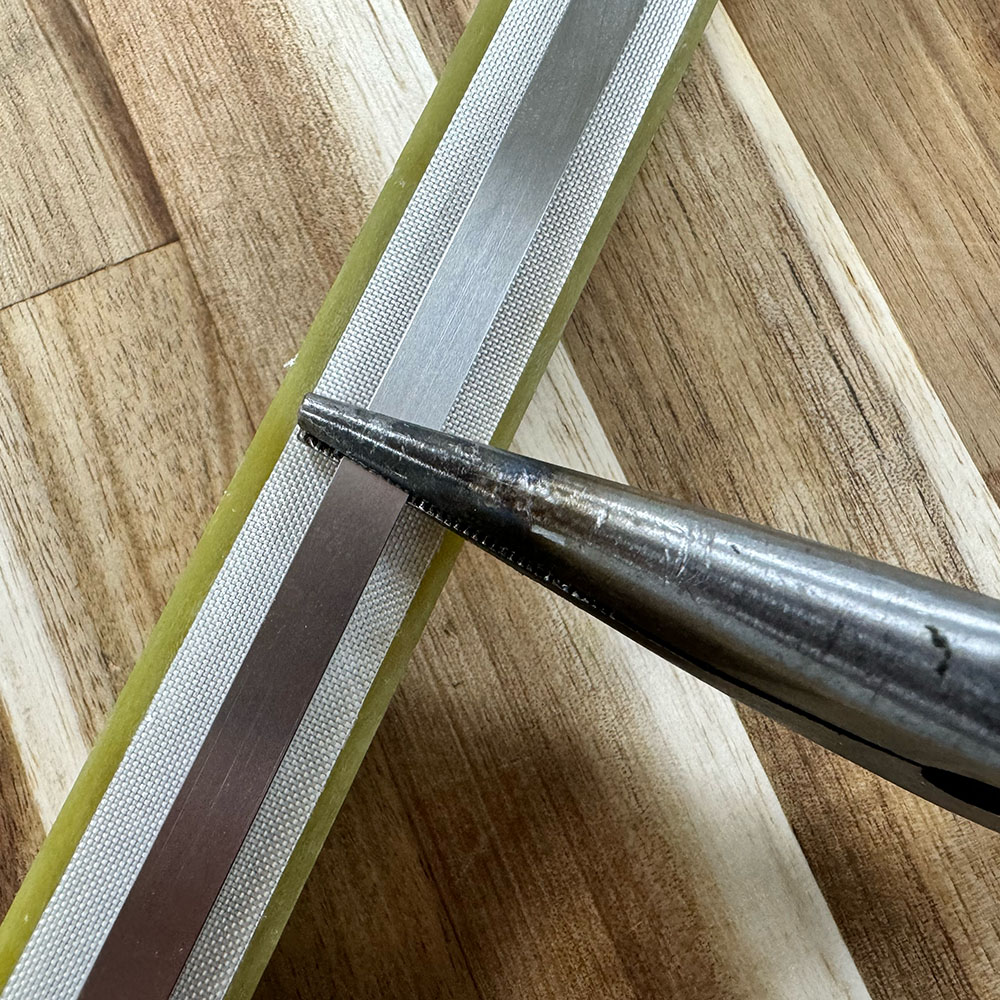
1. Use the needle nose pliers to tightly grasp the seal heat strip at one end of the seal bar.
2. Rotate the needle nose pliers away from the end of the seal bar. This should begin to look like a fruit roll-up around the end of the pliers.
3. Eventually, the heat strip will release from the seal bar end.
NOTE: The springs will likely launch from the end of the seal bar when the tension is released upon removal of the heat strip. To prevent losing the spring, aim the end of the seal bar toward a container or another enclosed area.
4. Repeat steps 1-3 with the other end of the heat strip.
Install the New Heat Strip
1. Insert one end of the new heat strip into the first slot past the set point region. You can either watch the heat strip pass by the set point region from the base of the seal bar or use a finger to set a stopping point.
2. Reinsert the first set screw until it is finger-tight to secure that end of the heat strip.
3. Reinert the first spring.
4. Wrap the heat strip around the bar. KEEP TENSION ON THE HEAT STRIP!
5. Insert the second spring at the opposing end of the seal bar.
6. While keeping tension on the heat strip, insert the free end into the other slot of the seal bar assembly.
7. Tighten both set screws into the set regions using the 17 mm wrench.
NOTE: If you find the heat strip is too long and is stopping before fully inserting, use tin snips/diagonal cutters to remove the excess amount. You can line up the heat strip with the set point region to set a visual marker for yourself.
Final Steps
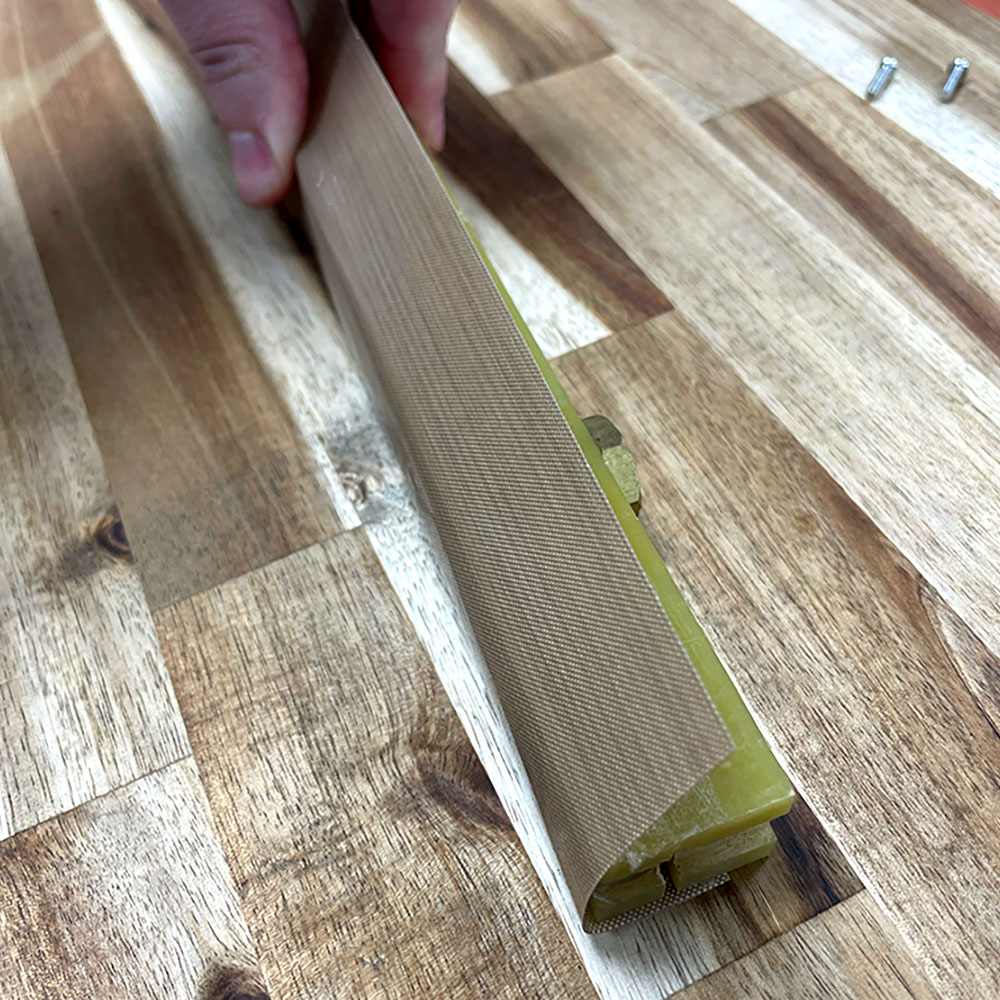
1. Replace the seal bar tape. Watch this video for the steps.
2. Replace the pouch clips using the mini pick/flathead screwdriver.
Additional Information
As an alternative, you can order a new standard seal bar assembly. The seal bar replacement is easy and requires no tools!
Check out the Vac100 Maintenance Pack as it provides all of the basic replacement parts you will need for the first couple of years to keep your chamber sealer working at top quality with no interruptions! This will save you money and time. You will always be prepared with backups and you can receive everything in one package so shipping costs do not add up!
Questions?
If the seal continues to be non-existent after you replace the seal heat strip, feel free to call us anytime during our business hours or submit a technical support call request form. We will happily get back to you at our earliest convenience to help you diagnose the problem!


